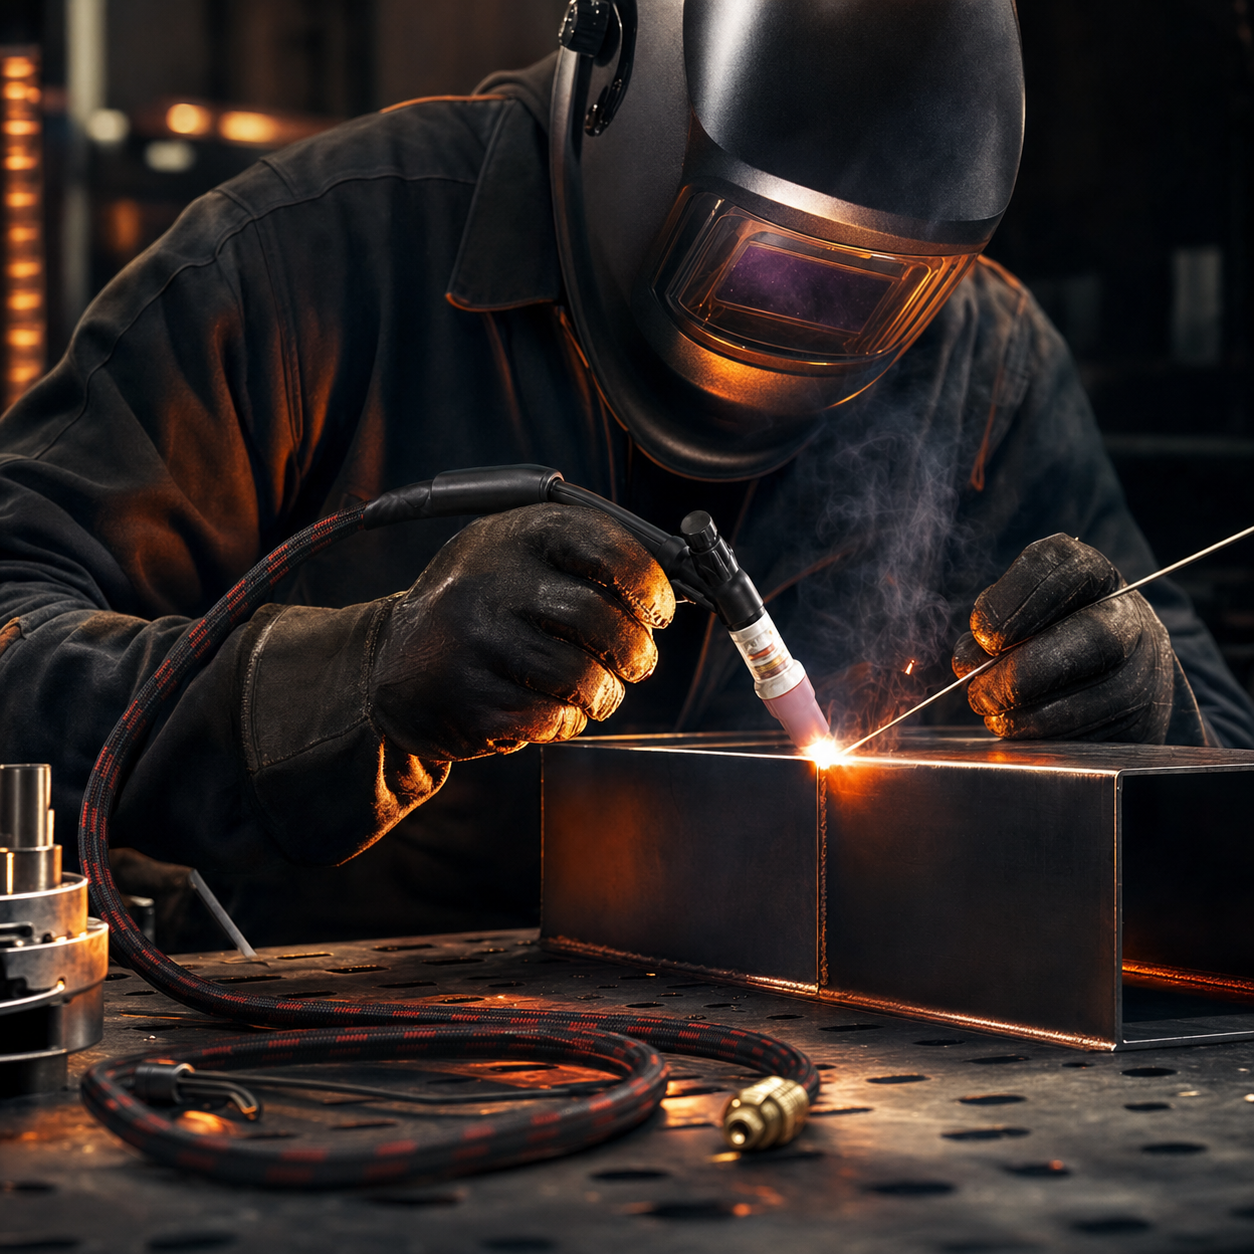
TIG Torches Assembly Guide: Correct Sequence & Fixing Porosity Issues
TIG Torches are precision instruments, and even small assembly mistakes can lead to big weld quality problems. Two of the most common issues welders run into with their TIG Torches are getting the assembly sequence wrong — which causes gas leaks and shielding gas contamination — and dealing with frustrating porosity in the finished weld. Both problems are highly preventable once you understand exactly how a TIG torch is built and how each component works together to protect your weld pool.
In this guide, we'll walk through the correct step-by-step sequence for assembling a TIG torch, explain why getting the order wrong (specifically tightening the back cap before the collet body/gas lens) leads to gas leakage and weld contamination, and break down the most common causes of porosity — including damaged O-rings and incorrect nozzle selection. Whether you're a professional fabricator or sourcing TIG Torches for your welding supply business, this guide will help you avoid costly rework and produce consistently clean, strong welds.

What Is the Correct Sequence When Assembling a TIG Torch?
Assembling a TIG torch in the wrong order is one of the most overlooked causes of poor weld quality — and it's entirely avoidable. Many welders assume torch assembly is simple and rush through it, but the sequence matters because each component creates a seal that depends on the part installed before it. Get the order wrong, and you introduce gaps where shielding gas can escape or where outside air can leak in and contaminate the weld pool.
Step-by-Step: How to Assemble a TIG Torch Correctly
| Step | Component | Action | Why It Matters |
|---|---|---|---|
| 1 | Torch body / power cable | Inspect for cracks, wear, or damaged insulation before starting | A damaged torch body can leak gas regardless of correct assembly |
| 2 | Collet | Insert the correctly sized collet matching your tungsten diameter into the torch head | Wrong collet size causes poor electrical contact and gas turbulence |
| 3 | Collet body / gas lens | Thread the collet body (or gas lens for laminar gas flow) into the torch head and tighten securely | This creates the primary seal that directs and contains shielding gas flow |
| 4 | Cup / nozzle | Screw the correctly sized ceramic or gas lens cup onto the torch head over the collet body | The cup shapes and concentrates the gas shield around the arc |
| 5 | Tungsten electrode | Insert the tungsten through the back of the torch, extending it to the desired stick-out length | Proper stick-out affects arc control and gas coverage |
| 6 | Back cap | Screw the back cap on LAST, tightening it to secure the tungsten in place | Tightening the back cap before the collet body/gas lens is fully seated is the #1 cause of gas leaks |
Why the Order Matters: Collet Body Before Back Cap
The single most important rule in TIG torch assembly is this: the collet body (or gas lens) must be fully seated and tightened before the back cap is installed. Here's why this sequence is critical for anyone working with TIG Torches:
- The collet body creates the primary gas seal. It's threaded directly into the torch head, and its tightness determines whether shielding gas flows smoothly through the cup or leaks out around the threads.
- The back cap's job is to hold the tungsten and collet in place — not to seal the gas path. If you tighten the back cap first and then try to adjust the collet body, you disturb the seal you just created, often without realizing it.
- An improperly seated collet body allows atmospheric air to be drawn into the gas stream through the loose threads, especially once the torch heats up and metal components expand slightly.
- Contaminated shielding gas is one of the leading causes of porosity, discoloration, and weak welds — which is why assembly sequence and weld defects are so closely connected.
A simple way to remember the correct order: collet → collet body/gas lens (tightened firmly) → cup → tungsten → back cap (tightened last). Always hand-tighten firmly, but avoid over-torquing, which can crack ceramic cups or strip threads on the torch head.
Why Am I Getting Porosity in My TIG Welds?
Porosity — those small pinholes or bubbles visible in and around the weld bead — is one of the most common and most frustrating defects welders encounter, even when using high-quality TIG Torches. Porosity happens when gas becomes trapped in the weld pool as it solidifies, and in TIG welding, this is almost always related to a breakdown in shielding gas coverage. Below are the most common causes, ranked by how frequently they occur in the field.
1. Damaged or Worn O-Rings
O-rings are small but critical seals located at connection points throughout the torch — particularly where the torch body meets the power cable and gas hose fittings. Over time, O-rings dry out, crack, or get pinched during consumable changes. Even a tiny gap caused by a worn O-ring is enough to let atmospheric air infiltrate the shielding gas stream, resulting in scattered porosity throughout the weld, not just at the start or stop points.
2. Incorrect Nozzle (Cup) Size or Type
Choosing the wrong cup size for your amperage and joint type is another leading cause of porosity in TIG Torches. A cup that's too small doesn't provide enough gas coverage over the weld pool, especially at higher amperages where a larger molten pool needs broader shielding. Standard cups also produce more turbulent gas flow than gas lens cups, which use a mesh screen to create a smoother, laminar gas stream — particularly important for welding in tight spaces or at extended tungsten stick-out lengths.
3. Insufficient Shielding Gas Flow Rate
Too little gas flow leaves the weld pool under-protected. As a general guideline, most TIG applications require 15–20 CFH (cubic feet per hour) of argon, adjusted based on cup size and welding environment. Flow rates lower than this can't maintain a stable shield around the arc.
4. Excessive Gas Flow Rate
Counter-intuitively, too much gas flow can be just as problematic. Excessive flow creates turbulence around the cup, which can actually draw outside air into the shielding gas envelope rather than pushing it away — a phenomenon sometimes called "aspiration."
5. Contaminated Base Material or Filler Rod
Oil, grease, rust, mill scale, moisture, or oxidation on the base metal or filler rod introduces gas-producing contaminants directly into the weld pool. This is unrelated to torch condition but is frequently mistaken for a torch or gas problem.
6. Drafts or Wind in the Work Area
Even a mild breeze from a fan, open door, or HVAC vent can disrupt the shielding gas envelope enough to cause porosity, particularly with TIG welding's relatively gentle gas flow compared to other welding processes.
7. Excessive Tungsten Stick-Out or Wrong Electrode Angle
Extending the tungsten too far beyond the cup reduces gas coverage over the arc and weld pool, increasing the likelihood of atmospheric contamination.
Porosity Troubleshooting Table
| Cause | How to Identify It | Solution |
|---|---|---|
| Worn O-rings | Porosity appears randomly, not just at start/stop | Inspect and replace O-rings at torch body/cable connections |
| Wrong nozzle size | Porosity worsens at higher amperage | Upgrade to a larger cup or a gas lens setup |
| Low gas flow | Porosity concentrated at weld edges | Increase flow to 15–20 CFH and verify with a flow meter |
| Excessive gas flow | Porosity despite high flow settings | Reduce flow rate; switch to gas lens for better laminar flow |
| Contaminated material | Porosity localized to specific spots on the joint | Clean base metal and filler rod thoroughly before welding |
| Drafts in work area | Inconsistent porosity between otherwise identical welds | Shield the work area or relocate away from airflow sources |
Preventive Maintenance Checklist for TIG Torches
Preventing both assembly errors and porosity issues comes down to consistent torch maintenance. Here's a practical checklist we recommend to every UPPERWELD customer:
- Inspect all O-rings for cracking, flattening, or dry-rot before every major job, and keep spares on hand.
- Always assemble in the correct sequence: collet, collet body/gas lens, cup, tungsten, then back cap last.
- Verify gas flow rate with a flow meter rather than relying on regulator gauge estimates alone.
- Match cup size to amperage and joint access requirements — don't default to the smallest cup available.
- Clean base metal and filler rod of oil, rust, and mill scale before every weld.
- Replace consumables (collets, cups, back caps) as soon as wear is visible rather than waiting for failure.
- Shield your welding area from drafts, fans, and open doors whenever possible.
Frequently Asked Questions About TIG Torches
Do I need to tighten the back cap all the way?
Yes, the back cap should be snug enough to firmly hold the tungsten electrode in place without wobble, but it should always be the last component tightened — never before the collet body/gas lens is properly seated.
How do I know if my O-ring is causing porosity?
A strong indicator is porosity that appears randomly along the weld rather than only at the start or stop of the bead. If you spray soapy water on torch connections while gas is flowing and see bubbles, that confirms a leak.
What's the difference between a standard cup and a gas lens?
A standard cup relies on the collet body alone to direct gas flow, which can be more turbulent. A gas lens uses a fine mesh screen to straighten the gas flow into a smooth, laminar column, providing better coverage — especially useful for extended tungsten stick-out or welding in recessed joints.
Can a damaged tungsten electrode cause porosity?
Indirectly, yes. A contaminated, chipped, or incorrectly ground tungsten can disturb arc stability and gas flow around the tip, increasing the risk of atmospheric contamination entering the weld pool.
How often should I replace the O-rings on my TIG torch?
There's no fixed interval, but as a best practice, inspect O-rings every time you disassemble the torch for maintenance or consumable replacement, and replace them at the first sign of cracking, flattening, or loss of elasticity — typically every few months in regular production use.
Trust UPPERWELD for Reliable TIG Torches and Genuine Replacement Parts
Since 2010, UPPERWELD has built a strong reputation for manufacturing dependable welding and torch products, trusted by customers across Europe, North America, South America, the Middle East, Africa, and Australia. We understand that a torch is only as good as the precision of its components and seals — which is why every TIG torch and replacement part we produce goes through strict quality control at every stage of manufacturing and packaging.
From properly fitted collet bodies and gas lenses to durable O-rings and correctly sized cups, our products are engineered to give you consistent gas coverage, leak-free assembly, and porosity-free welds every time. Backed by strong R&D and a commitment to international quality standards, UPPERWELD continues to develop products that meet the real-world demands of welders and fabricators worldwide.
Tired of chasing down porosity or dealing with leaky torch connections? Contact UPPERWELD today for genuine, precision-manufactured TIG Torches and replacement components. Our team is ready to help you select the right torch, cup, and consumables for your specific application — get in touch now for a quote, product catalog, or technical support.